Showing posts with label DIY. Show all posts

Monday, August 19, 2013

DIY Inspiration board

Hey there friends!
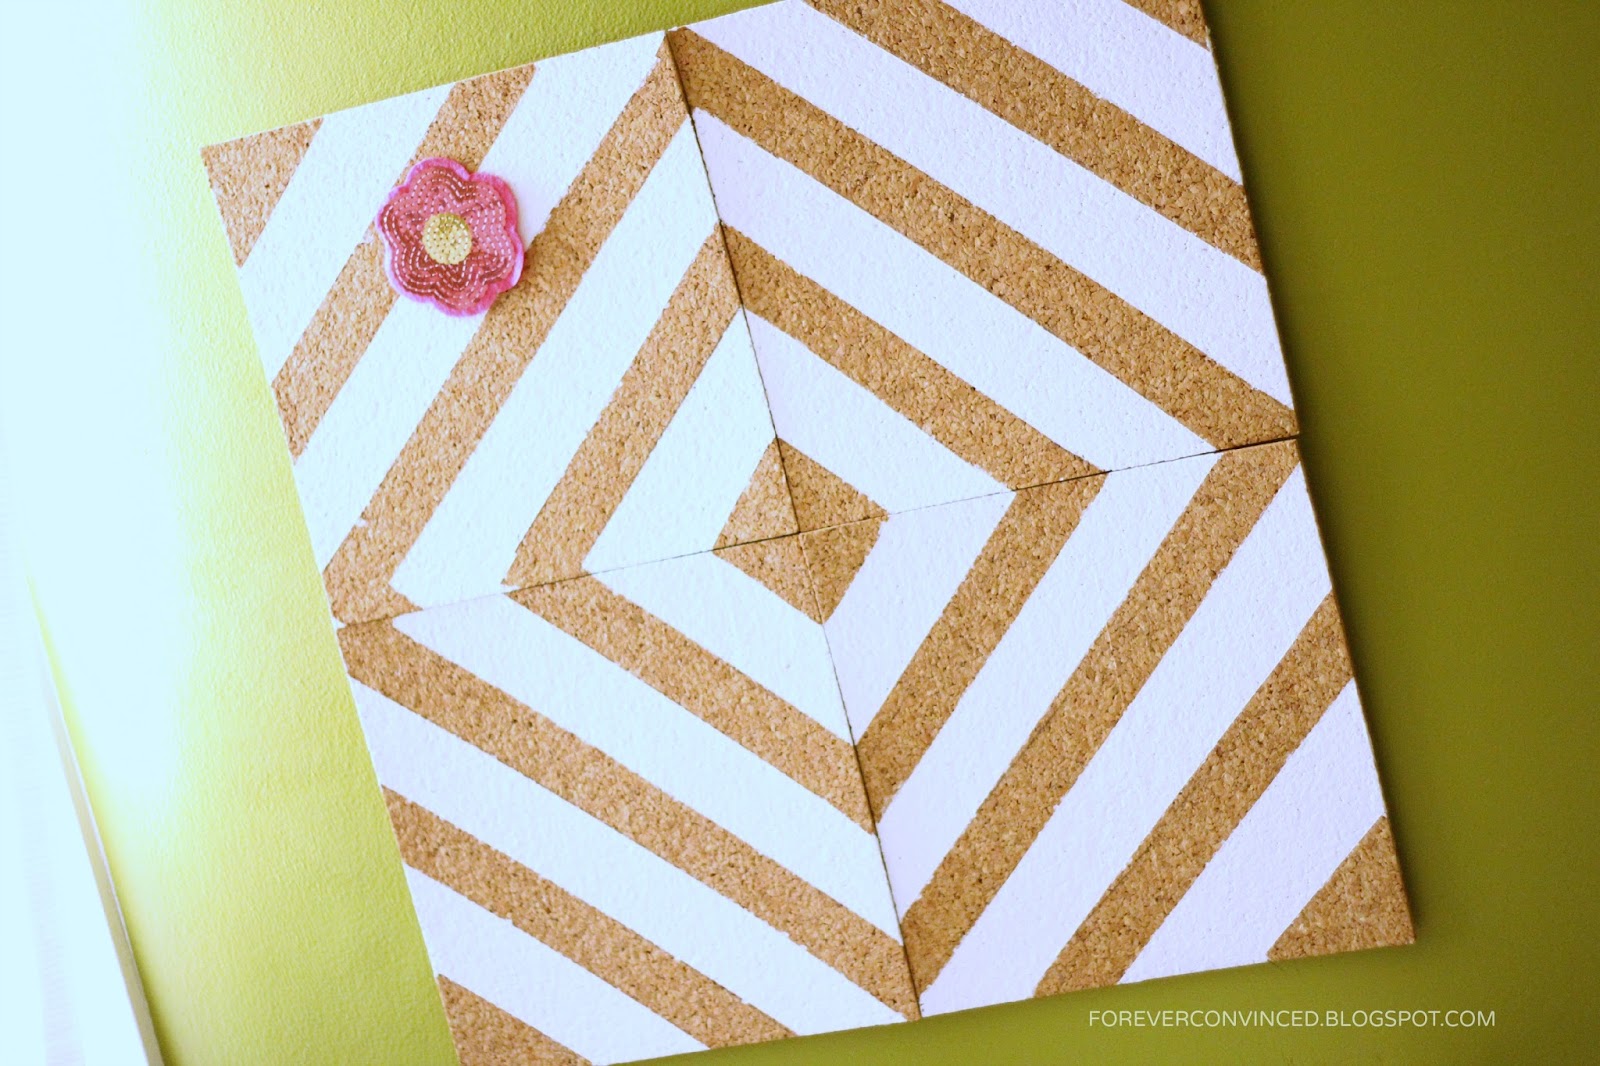
Today I am so excited to share my DIY Inspiration board that I made the other day! I absolutely love it and it was the perfect addition to the boring blank wall in front of my desk in my bedroom. I was inspired by to make this board via pinterest, and I am slowly becoming more obsessed with it day by day. I love everything chevron, in case you didn't know...


Heres what you need:
Cork tiles- mine are from Michael's, $5 for a pack of 4. (They're floor tiles, you can choose to buy the thick kind or the thin kind, either are fine!)
Masking tape (about $3.50 at Michaels)
White paint (65 cents a tube at Michael's! I used 2 of them for this project.)
3M command picture hanging strips
A paintbrush
A ruler & a pencil


Step 1: I used a ruler to measure the same distance from each side to form my chevron pattern. It ended up being a lot easier than I thought it would be. I also used the ruler to make straight pencil marks for the lines of my chevron pattern.


Step 2: Use your ruler to measure the length of each different line for your chevron pattern. It took me about an hour and a half to complete the whole thing. It was worth taking the time to make sure the lines were matching up on each side and that they also weren't crooked or uneven. 


Step 3: Arrange your tiles in the correct pattern you want them to be to make sure the stripes line up almost perfectly. With a pattern as simple as this, you can do the diamond, diagonal stripes, or chevron. I chose chevron only because I'm slightly obsessed. 


Step 4: Paint the remaining cork with the white paint. Make sure to do about 2 layers of the white paint. Let the paint dry completely, and then pull off all of the tape. (I love how straight the lines come out at this point! I was oooohing and ahhhhing!)

Step 5: Stick 3M Command picture strips together, they make it for simply for you to do. I cut each of my strips in half so I could put one on each cork board. 


Waahhhla!


What do you guys think? Have you guys done any fun crafts this summer? I'd love to hear about the fun things that the each of you have made! I don't know about you, but I sure have had a heck of a lot of fun this summer trying out different pretty crafts via Pinterest! Love that website...its addicting!

Love always, Jess

Friday, July 12, 2013

Summer of something new: DIY spray painted desk {so easy!}


Hey guys! I am so excited that today is officially post number 3 of the summer of something new blog challenge. For those of you don't know what this challenge is all about, it was set up by my wonderful blog friend Annaliese at Southern Belle in Training, and for this challenge Annaliese, ElleJenna,  MichaelaGina and I will be committing to trying one new thing every week for 6 weeks and then sharing with you guys every Friday! I have seriously been having so much fun with this challenge, and I am so thankful that my wonderful friend Annaliese invited me in on this awesome opportunity!

This week, I challenged myself again to create another fun DIY project. I have been wanting to do this project for quite awhile, so I figured that this new blog challenge was the perfect opportunity for me to get it done. My parents brought down an old desk that was used by both my brother and I throughout elementary and high school. The cool thing about these desks are that they were given to my brother and I when we were young and they have all of our friends signatures on them from the past, so they are pretty special to my family and I. They are also big and perfect to use for my grad school program! I wasn't concerned about painting over the signatures from the past, I just liked the idea of using the same desk from my past as a child. It felt kinda vintage-y to me, and I liked that idea. Crazy how time flies.

After being inspired by so many different pins on Pinterest about spray painting furniture, I knew that my wood desk would be perfect to use for a spray paint DIY project. The different pins that I saw on Pinterest all said the same exact thing about using spray paint on furniture: that it would give me a much more professional look rather than using normal paint. I also knew that spray paint would be a lot easier and a lot less time consuming than using regular paint. I went with white colored spray paint. It was a hard decision though because they had so many other pretty color choices!

Heres what I used to begin with:

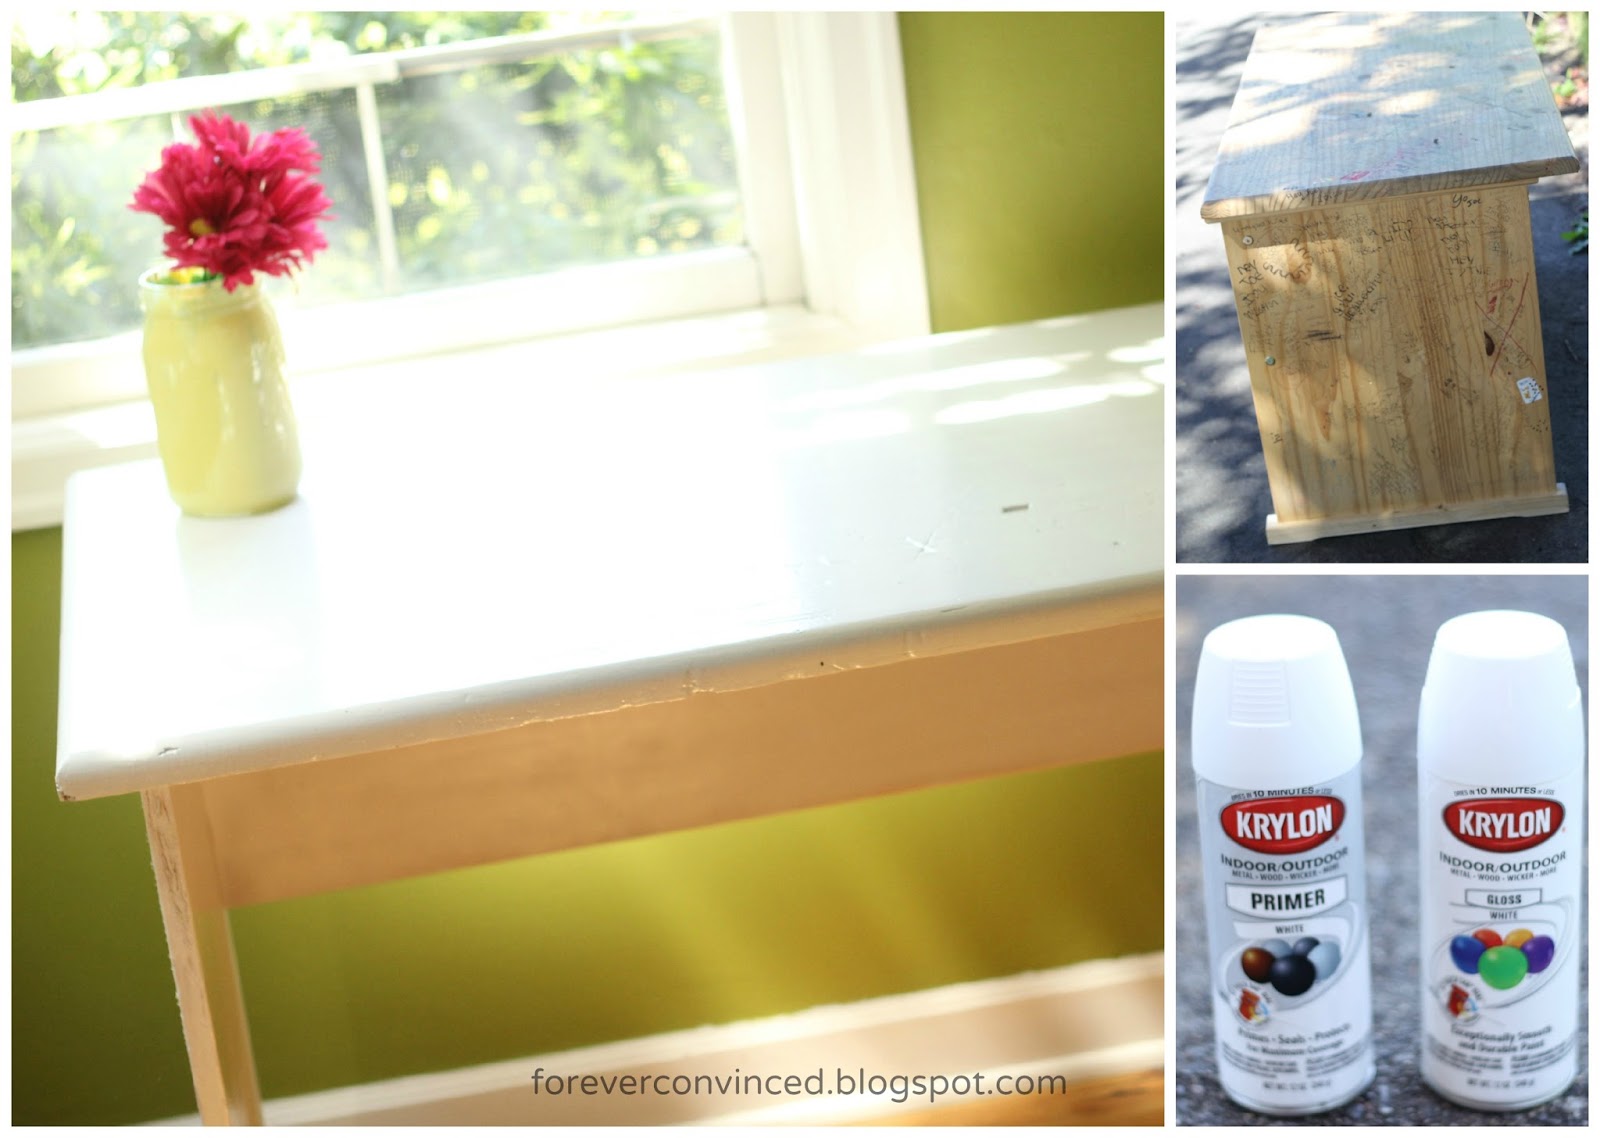
-Indoor/Outdoor Primer spray paint {Is primer necessary? YES! After doing plenty of research, primer is almost 95% necessary when spray painting furniture because it will give your piece that underlying seal it needs to last a long time in the future.}
-Indoor/Outdoor Gloss spray paint {I used a gloss sheen because I read the most positive reviews on it and it seemed to be the look that I was going for}
-A piece of furniture that you want to spray paint of course! Be sure that the type of spray paint you are using matches up with the piece of furniture you are spray painting. {For example, there are certain types of spray paint for wood, metal, etc.}
***I used the brand Krylon because it had good reviews. I wouldn't recommend using the cheap stuff because I read a lot of reviews about people who didn't use good brands of spray paint and ended up being disappointed.


Okay lets go! First, you need to prepare the area where you are spray painting accordingly. 


I painted my desk on the side of the street because I didn't want to make spray paint marks on my lawn. You can also put down tarp onto your painting surface if you are using a really nice piece of furniture that you don't want to scratch. My desk is old and already has a lot of scratches on it so I wasn't concerned about marking it up or anything like that.


I flipped my desk over and primed/painted the bottom section of it first because I didn't want to paint the top section first and then accidentally chip up the fresh paint on the top section as I was painting the bottom section.

Next, I started to use the primer product on my wood desk.


I then began to use the primer on my desk. I did it in a sweeping motion, with even strokes.

Be sure to spray paint your object 6-8 inches away so you do not get any dripping marks on your object. I did that a couple of times on the sides, but thankfully that was in the beginning so it was easy to cover up right away.

I recommend doing at least two layers of primer on the object that you are spray painting. Once I had completed my first layer of primer all over the bottom section of my desk, I let that first layer dry for about 15-20 minutes until I did my second layer of primer. I also made sure that I let my second layer of primer dry for 15-20 minutes after that as well.

After that, I whipped out my gloss spray paint and went to work!

I then spray painted two layers of my gloss spray paint all over the bottom section of my desk evenly in sweeping motions, again waiting 15-20 minutes between each of those two layers for the spray paint to dry.

After the bottom section of my desk was finished, I flipped my desk over and did the same exact thing to the top section of my desk. Two layers of primer all over the front section of my desk with 10-15 minutes of drying time in between each of the two layers, and then two layers of the gloss spray paint with 10-15 minutes of drying time in between each of those two layers as well.


DRUMROLL PLEASE....(not really)

......here is my final result! 


What do you guys think? I LOVE how my DIY mason jars go perfectly with my white desk now! Stay tuned my friends, this room isn't finished yet! ;) I have more fun DIY crafts on the way that I plan to complete! In the meantime, I hope that you all have a beautiful day full of Jesus's love! Love you all!

PS-be sure to check out my Facebook page and show it some love! Click here to like Forever Convinced on Facebook!

PPS- click here to follow my weekend adventures on Instagram!

Love always, Jess

Friday, July 5, 2013

Summer of something new: DIY pastel painted mason jars

Hello friends! Today marks my second post for the summer of something new. For those of you don't know what this challenge is, it was set up by my wonderful blog friend Annaliese at Southern Belle in Training, and for this challenge Annaliese, ElleJenna,  Michaela, Gina and I will be committing to trying one new thing every week for 6 weeks and then sharing with you guys every Friday! I am looking forward to these upcoming Fridays for the next six weeks! Exciting things!
This week for the challenge, I felt inspired to do a little DIY crafting, via Pinterest of course! Now that I have my new camera, I have become more inspired and more committed to start trying out different crafts so I can take pretty pictures of them and also decorate my room. My room at my new house is taking FOREVER to set up, simply because its a bigger room and also because I have a lot of things I need to add onto it. I spent a lot of my time this week cleaning, unpacking, and setting up my room. I noticed that my dresser and desk needed a little extra "touch," so I decided to create some colorful mason jars that are super easy AND affordable to make! They look a little something like this...


These jars are really easy to make, and a lot of fun! First, you need to go to Michaels or some other craft store where you can buy both some mason jars and also some paint to use along with them. The mason jars were about 5 dollars a piece, and the paint was about 88 cents a tube. The paint I used was Acrylic paint, made by the brand 'Craft Smart' at Michael's. I decided to go with pastel colors, but you can use whichever type of paint you would like for this craft.

Next, once your at home, spread out several sheets of newspaper all over a table. Make sure the paper is spread throughout the whole table, so you don't spill paint on it and damage it. Take your first tube of paint and pour a generous amount into the mason jar. Swirl the paint around slowly to evenly coat the mason jar. Set the Mason jar upside down onto the newspaper, and do the same process for the rest of the mason jars you are designing. Move the containers every 15 minutes or so, so they won't stick to the newspaper.  After about 2-3 hours, turn them over and let them air dry. Fill them with silk flowers or fake flowers from the dollar tree like I did. ;). Whatever your heart desires!

Here are a few other pictures my pretty jars, I absolutely love them, they are the perfect touch to my room. I can't believe I was able to make them for such a cheap price, geez!